Making Letter Sounds Stick
As children, one of the very first songs we learned was the ABC song. As parents, we understand the value of teaching our children ABCs. But if you’re a teacher, you understand that learning letters and especially their sounds really is vital to learning how to read.
The Alphabetic principle means having the knowledge of letters and the sounds that make up those letters. Did you know that letter name knowledge is the best predictor of reading achievement from kindergarten to 2nd grade?
That’s a big deal, and as educators, it’s our job to ensure that students are so familiar with the alphabet that they know it like the back of their hand. And this doesn’t mean just letter names - but more importantly, letter sounds.
Because we want these letters to stick in the minds of students, how we implement these lessons is crucial. And so, knowing their importance, our alphabet instruction must be three things: explicit, systematic, and consistent.
So let’s go on a journey to learning the best way to make these letter sounds stick like glue- and stick for good.
Alphabet instruction must be:
Explicit. This is HOW we teach letter sounds. Instead of showing the class the letter Jj, you show them a picture of a jar of jam, a jaguar, or a jellyfish. We don’t necessarily hold out a notecard and say, “This is the letter Jj and it says /j/.” We must be very explicit in our instruction and instead say, “Jett the jaguar likes to jump over jars of jam. What sound do you hear at the beginning of those words?” In explicit instruction, we talk about what our mouth is doing when forming these words, as well as our teeth and lips.
Systematic and sequential. This is WHY we teach letter sounds. We must teach in a variety of ways (from simple to complex), and we must be purposeful in that. For example, when choosing a scope and sequence, we must choose one that makes sense for us. It wouldn’t make sense that scope and sequence aren’t covering letters like b, d, and p in the same week. They not only sound similar, but these letters look similar. We must be sure we’re choosing a scope and sequence that we believe in.
Consistent. This is WHAT we are teaching our students. When you’re choosing an activity, it’s so easy to spend hours on Pinterest over the weekends to snag some exciting, fun, and engaging activities. And, as you guys are all well aware, I love engaging activities. But there’s a time and place for fun and engaging activities and a time and place for consistency - both of which are important in learning. When we’re talking about consistency, we need to ensure that we’re choosing activities that encourage student progress and that are familiar to students. When we introduce a new letter, we must do it in the same manner we did for the previous one. This consistency and routine will allow students to make gains faster. Remember routine, routine, routine!
And speaking of routine, let’s unpack a bit about what our routine should actually look like. Our routines for teaching letter sounds (if we want to make them stick) should:
Be a multi-sensory approach (use sand trays, build words from magnetic letters, etc.)
Be sequential.
Have early identification and intervention for struggling students with letter sounds.
Have frequent practice and scaffolding.
Teach to automaticity and be prepared to circle back to review any words that have slipped from the minds of students. This is particularly important. We want students to know their letter sounds to such automaticity that if they see or hear the letters /c/ /ă/ /t/, they will easily and quickly recognize the word “cat.”
Focus on letter foundation.
Students form letters the correct way, every single time.
They should be quick to retrieve a letter and immediately print it.
Connect to phonemic awareness
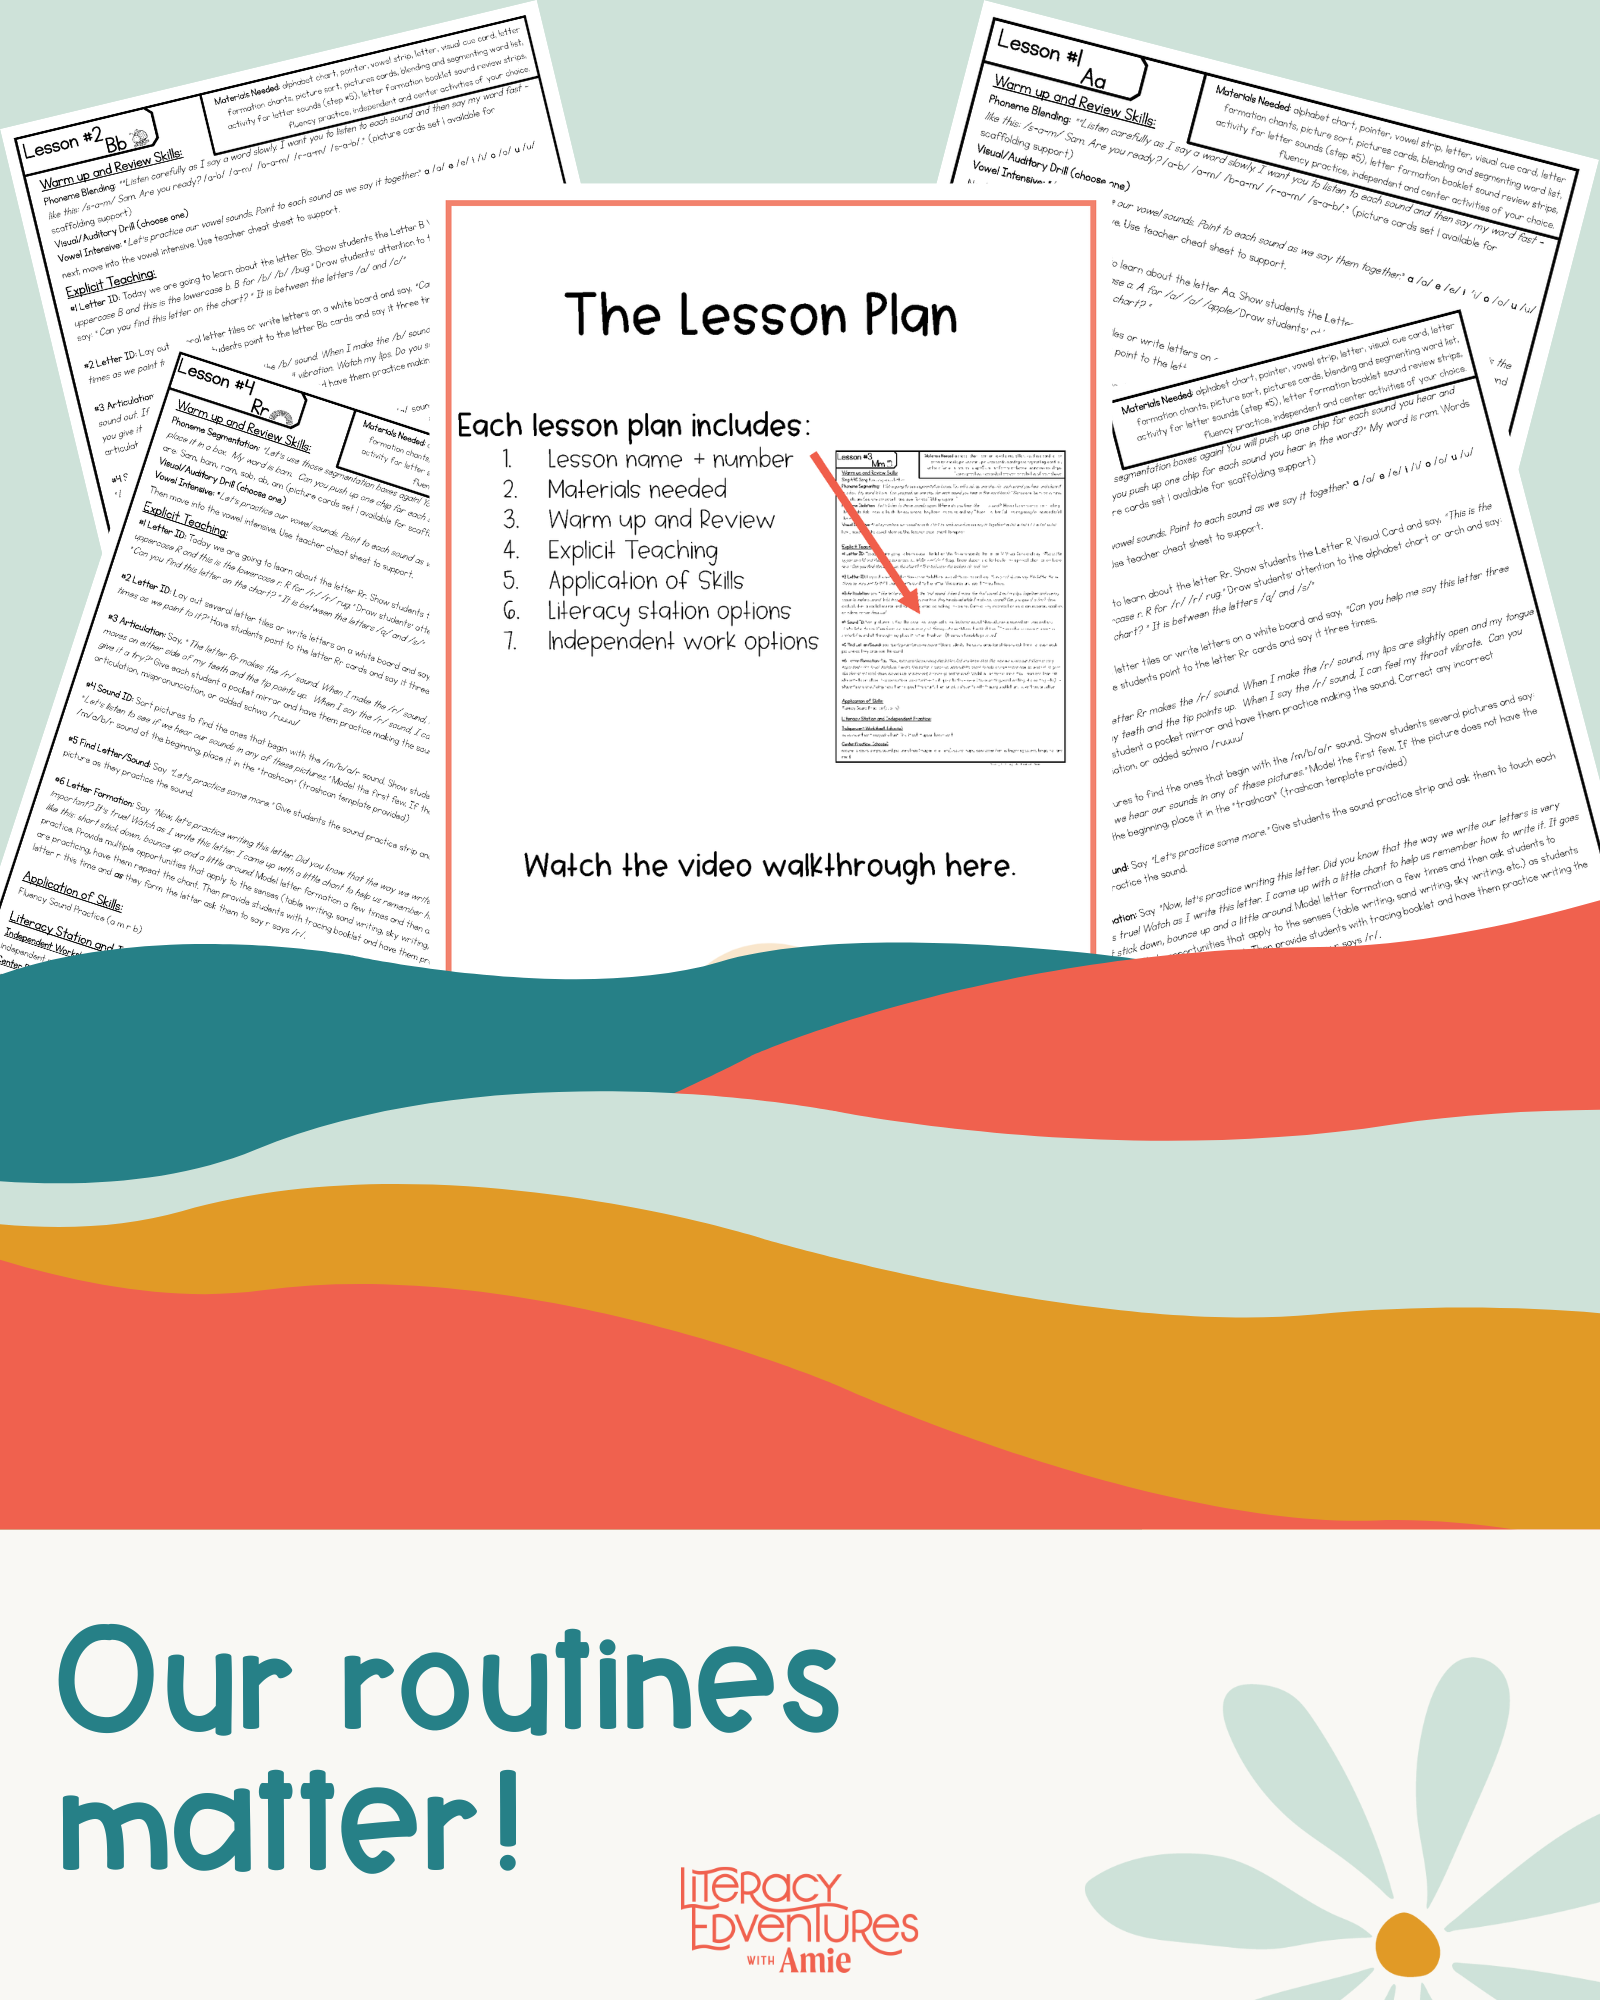
Now that we’ve covered a general idea of what we’re looking for in letter lesson plans, let’s take a look at a sample letter sound and phonemic awareness lesson that you could use in your classroom. As we go through this lesson plan, you’ll notice that it’s divided up into three key parts: warm-up and review skills, explicit teaching, and application of skills. Throughout this lesson plan, you’ll see that the routine is all of the things that are listed in the above bullet points, from being a multi-sensory approach to connecting letter sounds to phonemic awareness.
Letter Sound and Phonemic Awareness Lesson Plan
Part #1: Warm Up & Review Skills
Begin with a phonemic awareness warm-up made of three parts:
Phoneme isolation
“The word is /c/ /ă/ /t/. Where do you hear the /t/ sound?”
Phoneme blending
“My word is /b/ /ŭ/ /g/. What’s my word?”
Phoneme segmentation
“My word is ‘bug.’ Can you segment the sounds you hear?”
Podcast #5 has 5 amazing phonemic awareness activities for your students!
Visual Drill
Use flashcards to review previously-taught sounds to your students by asking them what each letter says.
Auditory Drill
Give students a sand tray or a doodle pad (anything that enhances a sensory experience)
“The sound is /m/.” Students watch your lips, listen for the letter sound, and write the letter.
Vowel Intensive
Students have a vowel strip to choose vowels from.
Sounds:
“The sound is /ă/.”
Students clip the short A sound on the vowel-intensive sheet and say, “A says /ă/!”
Syllable:
“The syllable is ‘ab.’”
Students clip the short A sound and say “/ă/!”
CVC Word
“The word is ‘mop.’”
Students clip the short O and say “ŏ/!”
Part #2: Explicit Teaching
Ensure that your routine is consistent - use the same routine each time you introduce a new letter.
Step #1: Letter Naming & Articulation
Introduce a picture and talk about the letter
If you’re studying the letter m, show a picture of a mouse.
“Mmmmouse - what sound do you hear? Mindy the mouse makes muffins.”
Step #2: Letter Identification
Show them the uppercase letter and lowercase letter
“This is the letter Bb.” Point to it three times.
Step #3: Sound Identification
Discuss the sound the letter represents
Talk about the placement of the lips, tongue, and teeth when you make the sound.
“This is the letter Bb and it says /b/. When I make the sound, do you see that my lips come together?”
If you have them, grab a couple of mirrors and have students practice forming the letter with their mouths and seeing what it looks like. Have them touch their vocal cords and ask them what their tongue is doing.
Have them practice saying the sound.
Step #4: Letter Formation
Decide what your letter formation is going to be and make it universal at your school
If your letter b is tall stick it down then up and around, ensure that the reading interventionist and other teachers at other grade levels are focusing on letter formation in the same way
Check out my Letter Formation Chant to help you with this!
Uppercase B - “Tall stick down, bounce up and around, bounce up and around!”
Lowercase b - “Tall stick down, bounce up and around!”
Practice writing this a few times as students say the chant.
Pull the sand trays out, have them draw on their partner’s backs, etc.
Part #3: Application of Skills
Use a variety of activities to review the letter, its sound, and its formation
Sound sorts
On a table, place titles at the top (B, M, R, S)
Picture cards on the table correspond to those letter sounds
Example: “This is a picture of a /b/ /b/ ball- what sound do you hear at the beginning?”
Students then sort picture cards under the appropriate title.
Fluency practice
Strips of paper with letters across and dots or lines underneath the letters.
Have students say the letter sounds as they place their fingers on the dot.
Students read across the strip, “/b/ /m/ /r/ /s/.”
Strips of paper can also include pictures instead of letters (butterfly, mouse, rainbow, sun)
Students have corresponding magnetic letters and place them above or below the appropriate picture.
Spin, Say It, Cover It, Write It game
Spinner has different letter sounds on it
When they spin a letter (m, for example), students must say “/m/” and find pictures that begin with the /m/ letter sound beside it.
Students cover up the pictures with the /m/ letter sound and then write the letter as they say, “M says /m/.”
Roll & Read game (check it out here!
Students roll a die and look at the letter the number corresponds to.
They say the letter sound and then cover up the letter.
If students roll a number that represents B, they say, “B says /b/” and cover up the letter B.
We also know that as soon as our students understand how to blend and segment and know a few letter sounds, they can begin reading words with those sounds.
It’s my hope that you’ll be able to use this lesson plan and that it will put forth more in motion for you as you implement solid, routine-based letter lessons into your classroom. If our instruction is explicit, systematic, and consistent, we can expect big results and ensure that these letter sounds will find a permanent place in the minds of our students.
Letter and Sound Curriculum
You can snag my COMPLETE letter sound curriculum here. Use code GIVEME50 for 50% off!


