From Letter Sounds to CVC
If you missed it, in this blog post and on my previous podcast, I talked about how we set our students up for reading success by giving them a solid foundation of letter names and sounds. But it begs the question: How do we take our students from letter-sound knowledge to blending of CVC words?
In order to make this leap, the first thing they have to do is look at the word and understand that the word reads from left to right. Then, they have to look at each letter and know the name. Next, they have to understand the corresponding sounds. Once they say the sounds in their head, they have to blend them back together in order to read it. This is not easy for new readers!
So how do we help students make the transition from letter-sound knowledge to CVC reading? The first thing we must do is ensure we are practicing phonemic awareness.
The Importance of Phonemic Awareness
When it comes to word reading, students need to understand how to separate words out and blend them back together. When they finally understand this process, blending is the skill that becomes the most important.
This is what we do in our phonemic awareness lessons. These lessons and warm ups are so important because if students can’t do this orally, they absolutely will not be able to blend when it comes to print.
And although we want to move on to blending and segmenting in print as soon as possible, we must first allow them tons of time to manipulate sounds at the oral level before moving on to print.
Students may find doing this orally during your phonemic awareness lessons easy, but might find it difficult when applying to print.
Helpful and Effective Blending Tips
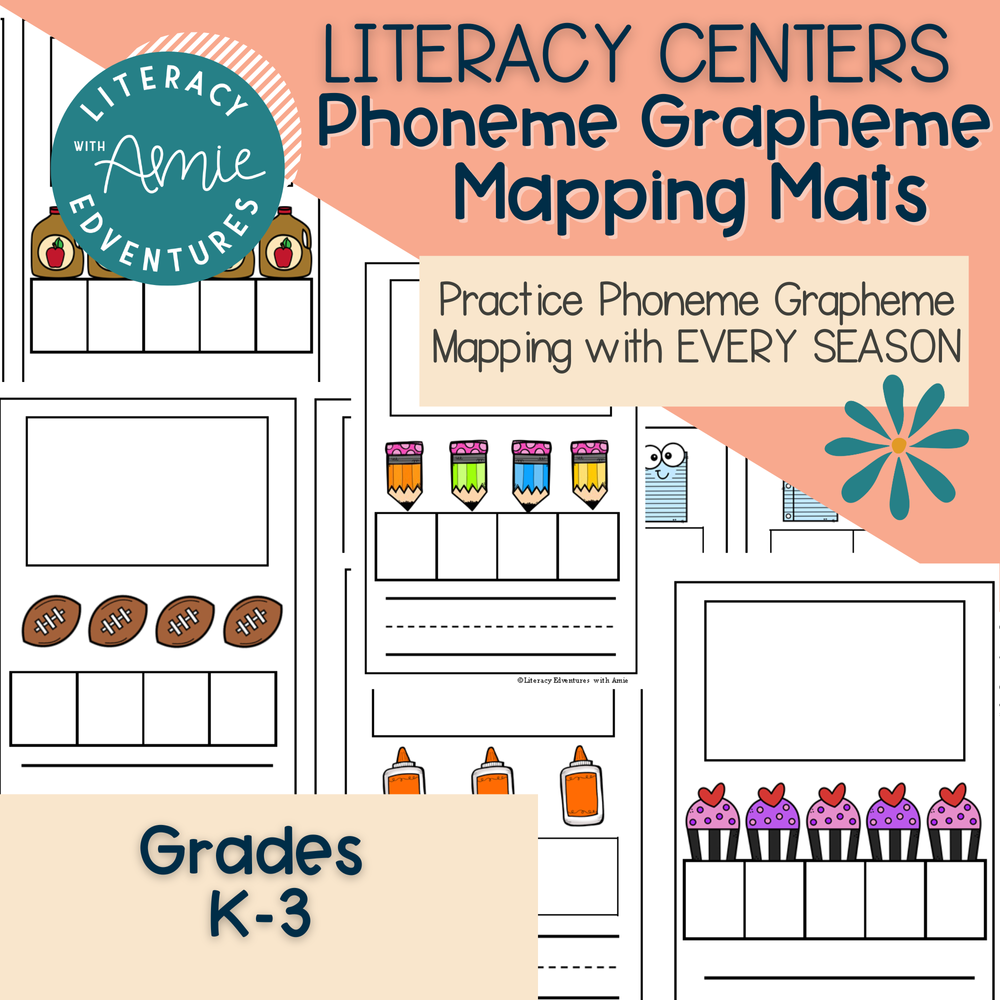
Use Elkonin Boxes
Supplies: Elkonin boxes (three of them for CVC words), and manipulatives (chips, mini erasers, Unifix cubes, etc.)
Students push a chip up into each box for each sound they hear. This is done orally first.
Teacher: “Our word is cat. Can you push one chip into the box for each sound you hear?”
Students push up one chip into the first box and say /c/, one chip into the second box and say /a/, and another into the last box and say /t/. “/c/ /a/ /t/. Cat!”
Then, move on to adding print into the activity by replacing the first chip with a magnetic letter of the beginning sound.
Teacher: “The word is cat.”
Students push up the c letter and say /c/, push up the second chip and say /a/, and push up the last chip and say /t/. “/c/ /a/ /t/. Cat!”
The next time you do the activity, add in a magnetic a, and then eventually a t so that all of the chips are replaced by magnetic letters.
Begin With Continuous Sounds
Continuous sounds are sounds that can be held, like the letter M /mmmm/ and N /nnnnn/. Sounds that “stop and pop” are letters like T /t/ and P /p/.
List of continuous sounds: A, E, F, I, L, M, N, O, R, S, U, V, Z
When students read words with continuous sounds, they can hold onto those sounds better than the “pop and stop” sounds. This helps them remember the sound.
When working with continuous sounds, you can do CVC words, CV words, or VC words.
Here are some examples of CVC, CV, and VA words and nonsense words that use continuous sounds:
Three continuous sounds: mmmaaannn man.
Stop sound at the end: mmmaaat mat.
Vowel and consonant: aaap ap.
Consonant and vowel: mmmaaa ma.
Use Successive Blending
When we do successive blending, we are giving them a scaffold by having them work with a pyramid (see examples below). This helps struggling students start small.
At the top of the pyramid, we have the first letter. Then on the second level, we have the first letter and second letter. Finally, at the bottom of the pyramid, we have the entire CVC word.
Students start at the top of the pyramid, put their finger under the letter, and say the sound. Then repeat this exercise with the remaining lines.
This way, they only need to hold on to one sound at a time.
These helpful tips can encourage your students to become automatic with blending and feeling confident with reading CVC words. Remember that the two most important skills we can provide for our students are blending and segmenting. Though we start doing this orally, we want to be sure we are applying these skills to print as soon as we can. My hope is that these tips can take you there as easily as A-B-C!

