 Image 1 of 1


Read & Snip
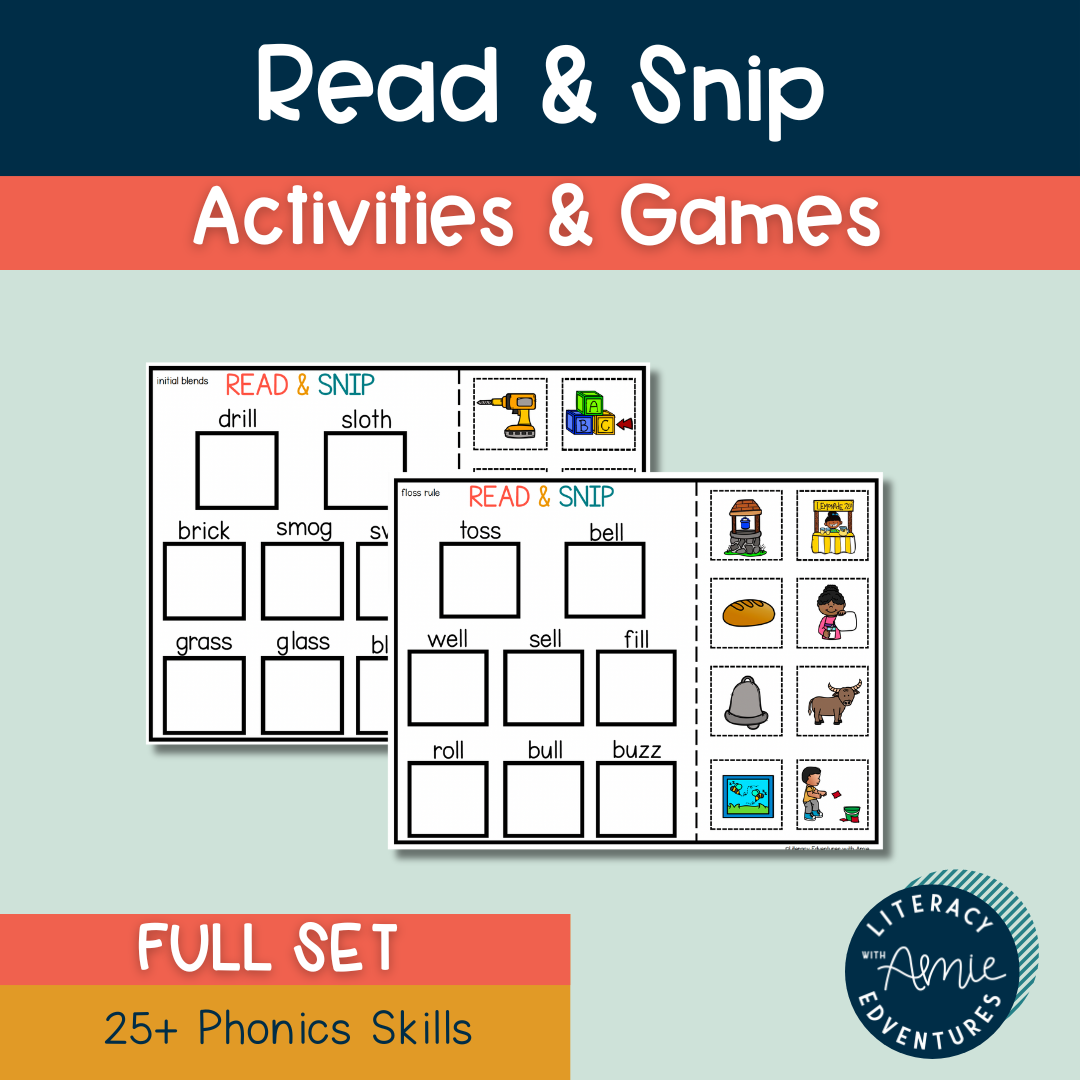
This READ & SNIP activity is perfect for hands-on learning! We all know that our students could benefit from anything tactile and that has them using their hands. So much of reading practice tends to be just reading a word and moving on, but it doesn’t have to be! Students will cut and glue these images onto a square after reading a word, so this activity keeps busy little hands, well, busier!
We love this activity because it requires students to read a word, and as a fun “reward” afterward, they get to find the image themselves. And, as always, you can find the page that each child needs based upon their reading level.
How to Use
Make copies of each page and decide which students need to work on which phonics skill and pass them out accordingly.
The easiest way to do this activity is to have students cut along the long dotted line to divide the paper with the words on one side and images on the other.
Students then cut out all of the images.
Then, students will choose a box and read the word above it.
After reading the word, students will find that image, glue it into the box, and read it once more.
Students repeat these steps with each word they read until all of the words have images.
GET ALL ACCESS NOW!
OR


